root vegetable · Apiacées
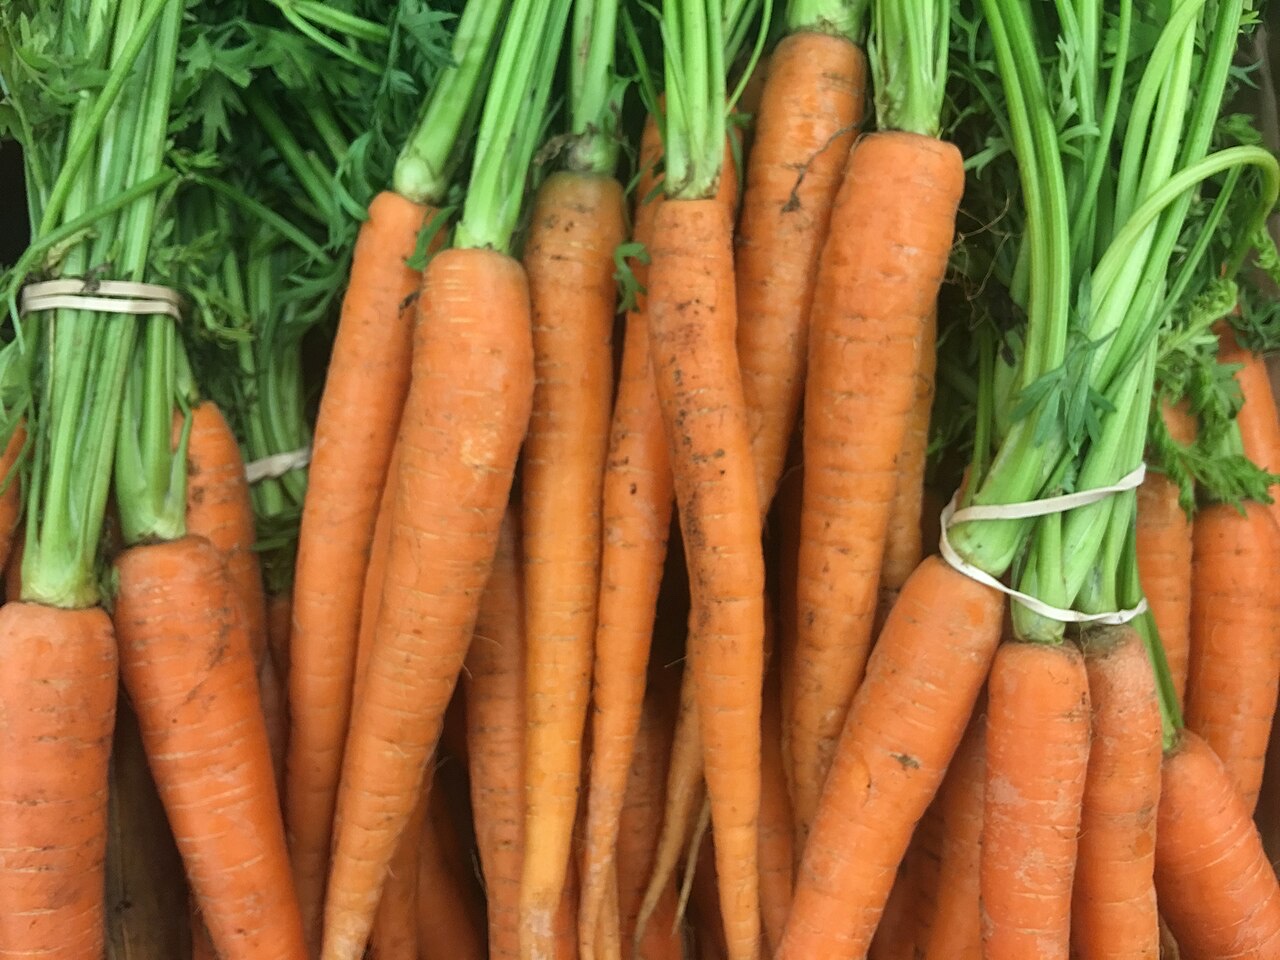
CarrotDaucus carota
Sweet and fragrant, the home-grown carrot can be crunched from summer onwards and stored all winter. Its success comes down to a few things: light soil, a patient sowing and courageous thinning. Once you have mastered the technique, it is one of the most rewarding vegetables in the garden.
- Difficulty
- Intermediate
- Exhibition
- Full sun or light partial shade
- Watering
- Regular and light until germination, then moderate and spaced out
- Floor
- Light, sandy or loamy, deep, free of stones and fresh manure
- Spacing
- 5 to 8 cm along the row after thinning, 30 cm between rows
- Harvest
- 70 days for earlies, 120 to 150 days for storage carrots
Calendar · Belgian climate
When to sow, plant and harvest
| Activity | Jan | Feb | Mar | Apr | May | Jun | Jul | Aug | Sep | Oct | Nov | Dec |
|---|---|---|---|---|---|---|---|---|---|---|---|---|
| Sowing in open ground | yes | yes | yes | yes | yes | |||||||
| Harvest | yes | yes | yes | yes | yes | yes |
Step by step
1Sowing
Sow from March to July outdoors, the April-May sowings giving the summer harvests and those of June-July the storage carrots. Prepare the seedbed carefully, draw drills one centimetre deep and thirty centimetres apart, and sow thinly, mixing the fine seed with sand or with radish seed to mark the row. Firm, water with a fine spray and keep moist: germination takes two to three weeks.
2Planting out
The carrot is never transplanted; its taproot forks at the slightest disturbance. Sowing in place is the only method. For an earlier crop, sow from late February under a cold frame or a plastic tunnel, in soil that has warmed up well and been worked deeply with a broadfork. In heavy soil, prepare a raised bed mixed with sand and very mature compost, then wait a fortnight before sowing.
3Caring
Thin in two passes, first to three centimetres when the seedlings have three leaves, then to six or eight centimetres a month later. Do it in the evening, in overcast weather, and firm the soil afterwards, so as not to attract the fly with the scent. Hoe often; the carrot hates competition from weeds. Water little but regularly, as irregular watering splits the roots. Earth up lightly to avoid green shoulders.
4Harvesting
Harvest earlies from June, when the roots are as thick as a finger, by pulling gently on the foliage after moistening the soil. Storage carrots are lifted from October to November, before the hard frosts, with a garden fork in dry weather. In well-drained soils, you can also leave them in place under a thick mulch of leaves or straw and pull them as needed until February.
5Storing
Cut the tops off flush with the crown without damaging the root, do not wash, and leave to dry off for a day. Then store the carrots in the cellar, in boxes of slightly damp sand or peat, or in an outdoor clamp: they keep until spring. In the fridge, without tops and in a perforated bag, they last three weeks. Grated or blanched in slices, they also freeze.
Further reading
Planting and caring for plants properly
How to plant properly
Choosing the spot
The carrot grows in sun or light partial shade, but everything hinges on the soil: it must be light, deep and free of stones so that the root goes straight down. Choose a bed that has had no manure for at least a year, for example after leeks, salads or peas. A slightly windy corner is an asset, as the carrot fly flies poorly more than fifty centimetres above the ground and hates draughts. Alternate the rows with onions or leeks, whose scent confuses it, and wait three years before returning to the same spot.
Preparing the soil
In our loamy soils, the carrot succeeds with careful preparation; in clay, it needs proper groundwork. Loosen with a broadfork to thirty centimetres, remove stones and break up every clod. For heavy soil, build a raised bed twenty centimetres high made of two thirds soil and one third coarse sand and very mature compost, or grow in a deep container. No manure or young compost; they make the roots fork and attract the fly. Rake until the surface is as fine as potting compost, then leave to settle for a week before sowing.
Sowing at the right time
Sow from late March to mid-July, in small quantities every three or four weeks. April sowings give the June earlies, those from mid-May to mid-June the summer carrots, and those from late June to mid-July the storage carrots, the tastiest and the best protected from the first generation of flies. Draw drills one centimetre deep and thirty apart, sow thinly by mixing the seed with dry sand or a few radish seeds, cover with half a centimetre of fine compost and firm with the back of the rake. In cold soil, wait until the temperature exceeds 8 °C.
Getting germination right
The carrot is never transplanted, but its slow, fragile germination can be nursed. After sowing, water with a very fine spray and cover the drill with a plank, cardboard or fleece for eight to ten days: the soil stays moist and the seeds do not dry out at the surface, the leading cause of failure. Lift it every day to check, and remove the cover at the first seedlings, between ten and twenty days. Radishes sown at the same time mark the row, which lets you hoe without crushing the carrots, and are harvested before they get in the way. Pelleted seed or seed tape makes it easier to sow at the right spacing.
In pots or containers
On a balcony, the carrot becomes easy: in a container the compost is light and the fly does not climb to the second floor. Choose a short or round variety, such as Marché de Paris or a short Nantes type, and a container at least thirty centimetres deep, filled with two thirds potting compost and one third sand, with no fresh compost. Sow in rows fifteen centimetres apart, thin to four or five centimetres, and water regularly with a fine spray: the compost must never dry out. A sixty-centimetre trough gives three or four bunches, sown in two batches to spread them out.
Beginner's mistakes
Sowing too thickly and then not having the courage to thin, and harvesting tangled, thread-like carrots. Letting the drill dry out during germination. Adding fresh compost or manure, which cause forking and rot. Sowing in unprepared clay soil: the roots stop at the first obstacle. Thinning in mid-afternoon and leaving the pulled seedlings on the spot, which calls the fly in from miles away. Watering heavily after a drought, which splits the roots. Forgetting the insect-proof mesh. Harvesting storage carrots too early, before the first cold spells that make them sweet.
Look after it properly
Watering properly
Until germination, the drill must stay moist at all times: a daily fine-spray watering in dry weather, or covering the sowing, takes care of that. After that, the carrot prefers regular, moderate watering, five litres per square metre every five to seven days in dry weather, rather than infrequent floods, which split the roots. Water in the evening, with a spray, without forming a crust. A fine mulch greatly reduces the need. From September, storage carrots do without watering; autumn moisture is enough and a root less full of water keeps better.
Thinning
Thinning is the task that makes the harvest, and the one people hesitate over most. First pass when the seedlings have three leaves, to three centimetres. Second pass a month later, to six or eight centimetres for long varieties, four to five for short ones; the carrots removed at this stage are eaten as baby carrots with their tops. Work in the evening, in overcast weather or after rain, holding the soil with one hand so as not to disturb the neighbours, then firm, water and take the seedlings to a covered compost heap: their scent attracts the fly. Fill the gaps with a little soil.
Hoeing, mulching, earthing up
The carrot grows slowly and copes badly with competition: hoe and hand-weed as soon as the row shows, then every two weeks, without ever damaging the crown. After the second thinning, mulch finely with dried grass clippings or miscanthus mulch three centimetres deep, to keep the soil cool and space out watering. When the shoulders of the roots start to show, draw a little soil or mulch over them: this avoids green, bitter crowns. No fertiliser is needed in properly stocked soil; in poor ground, a little ash for potash.
Preventing diseases and pests
The carrot fly lays its eggs at the base of the plants in May and again in August; its larvae bore rusty tunnels. The only reliable defence is fine insect-proof mesh laid over hoops from sowing, edges buried, and kept on until harvest. Back it up by growing high up or in containers, interplanting rows of onions and leeks, thinning in the evening followed by firming, and mid-June sowings that dodge the first generation. Against slugs on seedlings, collect them in the evening. Alternaria spots the foliage in damp weather: space out, water the soil and practise rotation.
Through the season
March: fine preparation of the bed, sowing under a tunnel for the impatient. April: first sowing in place, marker radishes, insect-proof mesh, drill covered until germination. May: first thinning, hoeing, second sowing. June: second thinning, mulching, storage sowing around the 20th, first earlies at the end of the month. July: last sowing before the 15th, regular watering, harvest of summer carrots. August: thinning of the late sowings, mesh kept on against the second generation of flies. September and October: watering stopped, harvest as needed. November: lifting and storing, or a thick mulch over the rows left in the ground.
Harvesting and extending the season
Harvest earlies as soon as the crown is the diameter of a one-euro coin, watering beforehand and pulling gently on the tops, or with a fork in heavy soil. Pulling every other carrot lets the rest swell. Storage carrots wait until the end of October: the first cold spells turn the starch into sugar. In free-draining soil, leave them in place under fifteen centimetres of dead leaves or straw covered with fleece, and pull them until February; in clay, lift before the hard frosts and store in sand. A late sowing under a tunnel in August gives tender mini carrots for Christmas.
Obtaining seeds or seedlings
Seeds and seedlings: where to find them
A selection of reputable seed suppliers that deliver to your country, listed in order of proximity. Evadya does not receive any commission: these are suppliers we recommend for their reliability.
Semailles
For Belgian artisan seed producer, organic and reproducible seeds, over 250 regional varieties, a planting calendar tailored to the Belgian climate.
Against Small organisation: limited range of hybrid varieties and possible stock shortages during peak season.
Search for ‘carrot’ on SemaillesKokopelli
For Europe’s largest collection of heirloom, organic and open-pollinated varieties; comprehensive growing guides.
Against No hybrids or seedlings; delivery times can sometimes be long during peak season; prices are slightly higher.
View the shopFerme de Sainte Marthe
For A long-established organic seed supplier, offering seeds and young plants, heirloom varieties, and nutrition and recipe guides.
Against Dispatched from the Loire: postage charges to Belgium and Switzerland; plants are fragile in transit.
Search for ‘carrot’ on Ferme de Sainte MartheGraines Baumaux
For A vast selection (over 500 tomato varieties), with high-yielding F1 hybrids and heirloom varieties side by side, and plants available in season.
Against Not much organic produce; an old site; catalogue entries rather than growing guides.
Search for ‘carrot’ on Graines BaumauxVreeken’s Zaden
For A very wide range of Dutch products, competitive prices, and numerous varieties suited to the Benelux climate.
Against Website in Dutch only; limited selection of organic produce.
Search for ‘carrot’ on Vreeken’s ZadenDe Bolster
For Dutch organic seed producer, seeds suitable for propagation, a good selection for cool climates.
Against A shorter catalogue; website in Dutch.
Search for ‘carrot’ on De BolsterZollinger Bio
For Swiss organic seeds, varieties suited to high altitudes and microclimates, and a unique phenological calendar.
Against Swiss prices and customs charges from the European Union.
Search for ‘carrot’ on Zollinger BioBingenheimer Saatgut
For A leading German name in organic and biodynamic produce, offering open-pollinated varieties selected for the home gardener.
Against Website in German; delivery charges apply outside Germany.
Search for ‘carrot’ on Bingenheimer SaatgutDreschflegel
For A collective of organic growers, specialising in rare and regional varieties, and the preservation of traditional farm seeds.
Against Small quantities; a catalogue that’s more activist than practical; website in German.
Search for ‘carrot’ on DreschflegelFrom the vegetable patch to the plate
And then we savour it
What it offers
The carrot is the champion of provitamin A, well absorbed with a drizzle of oil. It also provides gentle fibre, potassium and antioxidants.
In the kitchen, it’s simple
New carrots, barely scraped, roasted whole in the oven with honey, cumin and a little butter, are a dish in themselves from June onwards.
Living well
Pulling a carrot from the ground, wiping it on your sleeve and crunching it on the spot remains the surest way to make a child love the vegetable garden.
Also worth a look